

How to Test Auto-Scaling of Cloud Applications with LoadView

How to Test Auto-Scaling of Cloud Applications with LoadView
The Concept of Auto Scaling
Auto-scaling is a specific method, closely connected with cloud computing, by which one can automatically increase or decrease the number of resources that software under test has. Before cloud computing has become so widespread, it was extremely difficult to automatically scale a server installation. In a physical hosting environment, any hardware resources are extremely limited, which will sooner or later cause performance degradation.
Today, cloud computing allows the development of scalable server configurations. If the software requires more processing power, it is the auto-scaling that allows additional resources to be attracted, without harming overall performance.
The Relevance of Using Auto Scaling
Any auto-scaling is very functional, especially when the user application needs server resources to local the number of queries on the page or visualization. Modern auto-scaling provides the following features:
- Switching to a reduced load mode;
- Increase downtime with increased availability where performance loads vary;
- Perform scaling (as part of a single quality assurance services execution strategy) based on the number of incoming requests
Using LoadView for Auto Scaling Needs
LoadView is a dedicated load testing solution that can test everything from API and page basics to complex client scripts in front-end and back-end applications. For example, when loading pages, you can test a single page against hundreds of others and thousands of concurrent users to see exactly how the page performs under a certain load.
When checking client paths, LoadView with the EveryStep Web Recorder quickly turns the screen into a script to test the basics of real-time interaction with web products, capturing all activity with the ability to play back under a certain load.
How to Set Up LoadView Quickly
Let’s imagine that we need to test some internal applications. Before we start checking all internal processes, we need to perform all available settings.
So, we open the LoadView page and we can see some options, such as web applications, API handling, web page streaming media, and so on. For the test, click on the Web Page option.
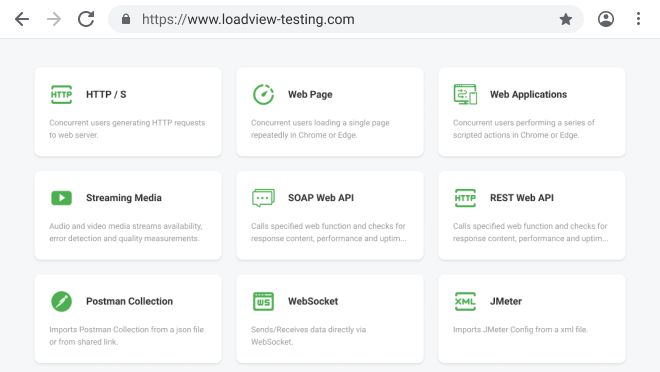
Photo from the Internet
A new page will open, where a tester can set the necessary time to start the load test, and add the internal name of the host site and the selected browser. After entering the information, click the Create new device button.
Once the device is created, the users will see a special test scenario screen where the type and locations of load can be analyzed. Then, choose the Load step curve parameter.

Internet photo
The LoadViev program will immediately start testing whether the users have access to internal applications. Next, you need to select the Static Proxy option and activate the data with a white list. Then choose the “pressure” zones to select the regions where you want to sample the generated web traffic.
All LoadView users have several choices, such as white list IP addresses or installing on agents’ premises if companies cannot open their network, for incoming traffic based on web security considerations.
Right after completing the selection process, you should download the starter test. You need to find all the static IPs in the agent part of the list. Creators must be loaded to access internal applications that need to be accepted into the whole list. All static IPs can be found in the agents part of the agent list, which should be freely accepted into the white list.
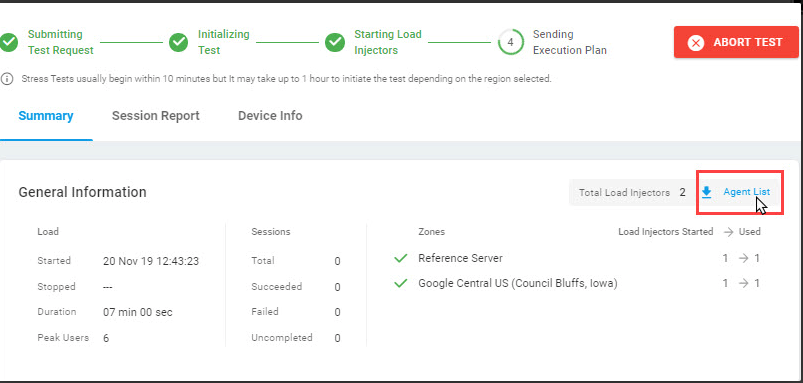
Internet photo
At this point, the initial objectives of the tests can be considered accomplished.
To Sum Up
So, LoadView is a tool to get a comprehensive view of web performance and usability of load tools, when your design teams are tasked with loading the software enough to find hidden or weak points.
